How to drill kitchen hinge
holes in doors
A video going over the kitchen hinge hole drilling in our kitchen doors.
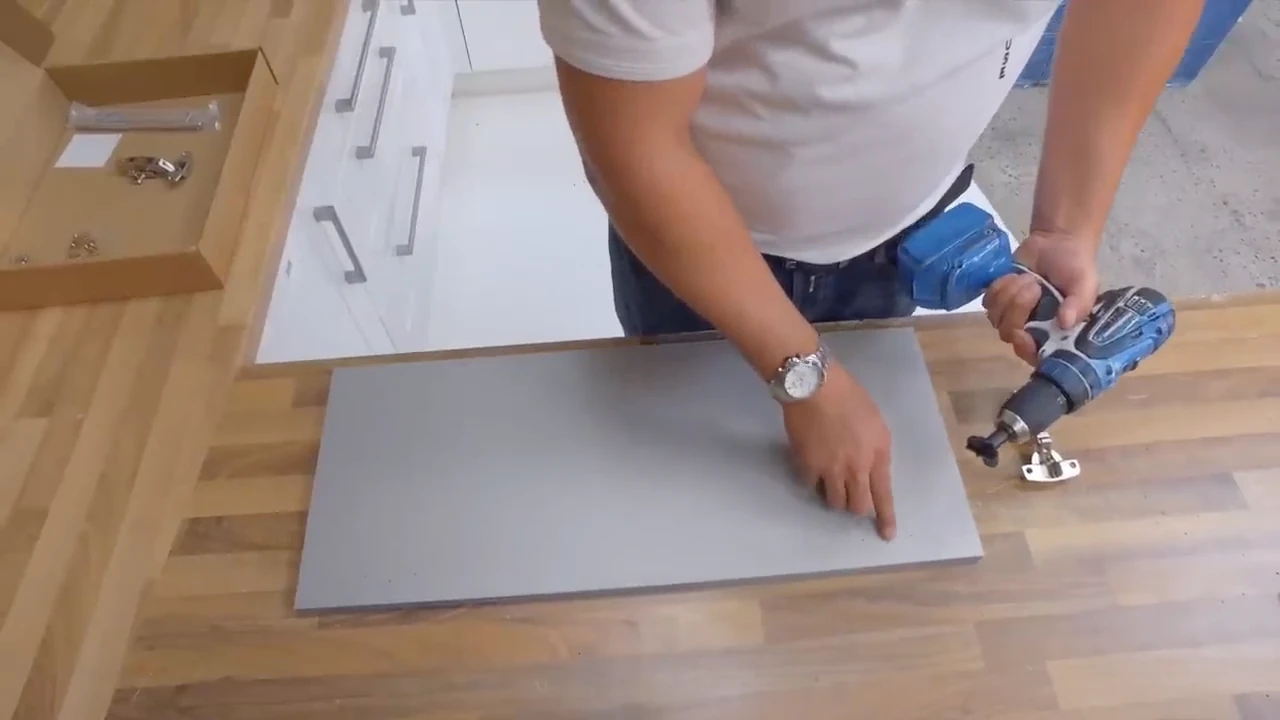
Description
This is using our hinge hole drilling kit that we send free of charge with our replacement kitchen doors. Please see video exactly why we do not drill some of our replacement doors for hinge holes which may help explain why the doors are needed to be drilled.
- Using the provided jig we can position this at one end of the door we intend to drill
- using a 2mm drill bit we can drill the three marked holes in the door to get our marked positions
- The middle hole is our centre point for our 35mm hinge hole bit
- Using a regular drill we can drill the centre hole to the correct depth. This is around flush with the top of the hinge bit but we would check periodically until the hinge fits flush in the hole
- With the hinge in the hole, we can position until the two outer pre-drilled holes line up
- Secure the hinge with two 3.5 x 16mm screws.
- Finish the other hinge hole and then the door is ready to be clipped on.
Video Summary
This video titled “How to drill hinge holes in kitchen doors – Kitchen Warehouse UK LTD” by Kitchen Warehouse UK Ltd provides a tutorial on how to drill kitchen doors with a hinge drilling kit to fit standard 35mm Kitchen Hinges. The video was uploaded on September 28, 2016.
The video discusses the following items:
- Hinge Hole Drilling Kit: This kit contains all the necessary tools for drilling hinge holes in kitchen doors. It includes a jig for marking where the hinges need drilling, a 2mm pilot drill bit, a 35mm hinge hole cutter, and a set of clear and easy-to-follow instructions.
- Marking the Door: The first step is to decide whether the door is for a base unit or a wall unit, and whether it will be hinged on the left or right side. The side of the door where the hinges will be drilled is then marked.
- Using the Jig and Pilot Bit: The jig is placed on the door, ensuring it is flush with the end of the door. The pilot holes are then drilled using the 2mm pilot drill bit.
- Drilling the Hinge Holes: The 35mm hinge hole cutter is used to drill the hinge holes. The depth of the hole should be enough to allow the hinge to fit properly but not so deep that it goes through the face of the door.
- Fitting the Hinges: Once the holes are drilled, the hinges are screwed onto the door. The screws are placed into the pilot holes that were marked earlier, ensuring that the hinge is square to the edge of the door.
- Final Touches: Any dust is cleaned off the end of the door, and rubber buffers are applied.
Please note that this is a summary of the video content. For a detailed step-by-step guide, it is recommended to watch the video.
Frequently Asked Questions
-
What is the standard size for kitchen door hinge holes?
The standard size for kitchen door hinge holes is 35mm in diameter. This size is commonly used for European-style hinges and is suitable for doors that are at least ½ inch thick.
-
What tools do I need to drill hinge holes in kitchen doors?
To drill hinge holes in kitchen doors, you will need a hinge hole cooking kit. This kit typically includes a jig for marking where the hinges need drilling, a 2mm pilot drill bit, a 35mm hinge hole cutter, and a set of clear and easy-to-follow instructions.
-
How do I determine where to drill hinge holes in kitchen doors?
The position of the hinge holes is determined by the type of unit (base or wall) and the side (left or right) where the door will be hinged. For cabinets, the hinges are usually set at 99 millimeters from the end of the door. A jig is used to mark the exact position of the holes.
-
How deep should I drill hinge holes in kitchen doors?
When drilling hinge holes, it’s crucial to ensure the depth is deep enough to allow the hinge to fit properly but not too deep to avoid going through the face of the door. The hole should be drilled deep enough that the bit is just inside the face of the door.
-
What is the process of drilling hinge holes in kitchen doors?
The process involves marking the side of the door where the hinges will be drilled, drilling pilot holes using the jig, and then drilling the hinge holes using the 35mm hinge hole cutter. After drilling, the hinges are screwed onto the door.
-
Do I need to paint the kitchen doors before or after drilling hinge holes?
It’s recommended to drill the hinge holes before painting the kitchen doors. This way, you can ensure a clean finish and avoid damaging the paintwork during the drilling process.
Video Transcript
If you’ve received complete kitchen units from us and the doors are not drilled, as in the handle-less or the metallic, you will receive a hinge hole cooking kit. In this kit, you will find the following items: a jig for marking where the hinges need drilling, a 2mm pilot drill bit, a 35mm hinge hole cutter, and a set of clear and easy-to-follow instructions.
The next thing to do is to decide whether this is going to be a base unit or a wall unit door and where it is going to be hinged on the left-hand side or the right-hand side. In this instance, I’m going to do this one as a left-hand hinge base unit. So the first thing to do is to mark which side of the door I want to drill the hinges on just as a little indicator by putting a little cross.
Next, put your pilot bit in your drill. This is the jig. For our cabinets, the hinges are set at 99mm from the end of the door, which is what the jig is also set up. That is set at 99mm from the end of the jig board to the centre point. So, you place your jig onto your door, ensuring the end is flush with the end of the door. Once it is, you basically drill all three pilot holes just to mark the door. You’re not drilling deep, you don’t drill right into the doll, you are just literally indicating where the drillings are. You also do the same on the opposite end of the door, ensuring that the end is flush. Once the end is flush again, drill three little pilot holes.
Also, with the complete kitchen units, you will have got a box like this. It will have your soft close hinges, fixing plates, fixing to the carcass screws, rubber buffers, and door handles. You will need to take one of these hinges out of here because when you’re drilling the doll, we need to make sure the depth is deep enough to allow the hinge to go in properly but not too deep that you’re obviously going through the face of the door.
In the drill now, I have the 35mm drill hinge hole cutter. The spike on the end is a locator. Out of the three holes, you want to put the spike into the centre locator. Basically, what you do is you drill deep enough that this bit is just inside the face of this doll. Go careful with this, don’t go over drilling it because you’re not wanting to come out the face. So just go steady with what you’re doing.
So, we’re going to put it in the centre hole. A very small rounding movement will make it cut a lot better than just trying to build straight. So you see at the moment now, we’re now flush with the back of this, with the back of the door. What I’ll do is I’ll just give that little try now before we drill a bit further. So that is sitting nice and flush now, and you can see where the other two screw holes are for the actual screws. So what we’ll do is we’ll drill the next one so they actually got them both drilled before we screw them off.
Again, we’ll just try it. It’s not bad that but it just wants a little touch more out. So the next thing to do will be to actually screw the hinges on. So if we get the screws out and just screw them straight into the actual two pilot holes that you marked before which should ensure that the hinge is square to the edge of the door. So that’s the hinges actually on to the door. The only thing left to do now make sure that dust is just off the end and just stick the rubber buffers on.